The bio line on the homepage says that I’m a “Professional Developer, Amateur Chef, and Aspiring Maker”. All of my posts thus far have been about development, today we are going to change that and write about the second thing on that list.
Cook’s Science
My love of cooking can be traced back to one book: The Science of Good Cooking that was published in 2012 by Americas Test Kitchen. Learning about the chemical processes that occur during cooking and discovering how easy it was to get fantastic results by following their very clear instructions built my confidence quickly and encouraged me to continue learning. Cook’s Science is the newest site to the Americas Test Kitchen family, it was started by Dan Souza and Molly Birnbaum who were the kitchen editor and project editor for The Science of Good Cooking. The site publishes in-depth articles and recipes using the same attention to detail and chemistry based approach that is found in the cookbook.
ChefSteps
I have been a huge fan of the folks over at ChefSteps since I learned about them when Will Smith from Tested took a tour of their kitchen in June of 2015. Most of the recipes they publish use a cooking technique called Sous-vide to slowly, gently and accurately cook the protein portion of a meal. In November of 2015 ChefSteps announced that they were working on their own Sous-vide tool that was available for pre-order. I jumped at the chance and received mine in September of 2016, and have been using it for damn near everything I can think of since then.
Let’s put these two together
One of the first things I made when I got my Sous-vide, was the Can’t-F***-It-Up Fried Chicken from ChefSteps. It was easily the most tender fried chicken I have ever eaten, and I loved that I only needed to fry the chicken for about 2 minutes. By using the Sous-vide to cook the chicken, you get perfectly cooked meat before any breading is added. The frying step with this recipe is just crisping up the breading which is much easier than trying to both cook the chicken just right and get the breading perfectly crisp at the same time. Additionally, you spend much less time hovering over hot oil. While the meat from this recipe was incredibly juicy and tender, the flavor was a little bland, so when I saw the Koji Fried Chicken recipe from Cook’s Science that promised incredibly savory and tender fried chicken I had to give it a try.
The first time I made the Koji Fried Chicken recipe I followed it exactly, which has you fry the chicken for a short time to get a nice crispy crust, then pop it in the oven to finish cooking the meat. The koji marinade worked amazingly! This fried chicken was nearly as tender as the Sous-vide version, but the meat had a much better flavor. My only complaint with this recipe is the oven step at the end, I missed the confidence that the meat was cooked perfectly that the Sous-vide version gave me. I decided I would try to blend these two recipes together: I used the koji marinade from Cook’s Science, then cooked the chicken Sous-vide, in the marinade using the time and temperature from ChefSteps. I liked the breading from the ChefSteps recipe better than the one from Cook’s Science but replaced some of the flour with blended dry koji. I opted to dry age the breading for 24 hours like the Cook’s Science recipe suggests, then just deep fried the pieces for 2 minutes or so and served.
The Recipe
Okay, now that we have the back story on the two source recipes covered, here is the combined recipe that I have been using.
Shio koji is made by combining rice koji, salt and water, then letting the mixture ferment for about a week. About 800g Lets use the tenderizing and flavor-boosting properies of shio koji to marinate a bunch of chicken, then deepfry it to perfection. 8 piecesShio Koji
Yield
Ingredients
400 g
water
300 g
firm granular rice koji
80 g
kosher salt
Directions
Ferment
Store
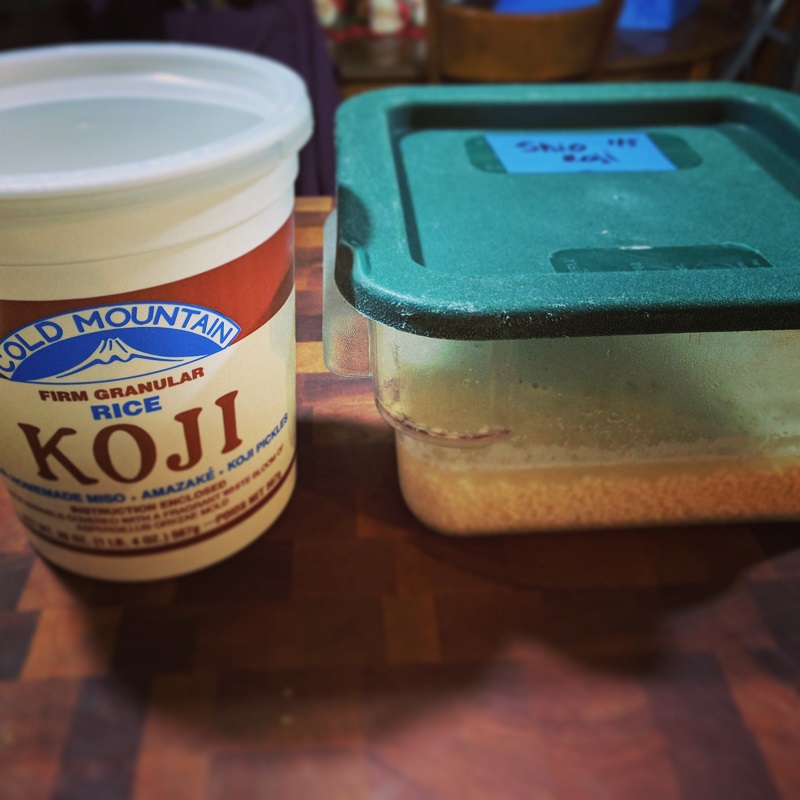
Shio koji fermentation day 1
Koji Fried Chicken
Yield
Ingredients
1,500 g
Bone-in chicken pieces (split breasts cut in half, drumsticks, and thighs), trimed
150 g
Shio koji
110 g
Firm granular rice koji
265 g
Pastry flour, or all-purpose
13 g
Paprika
10 g
Onion Powder
2.5 g
Garlic Powder
250 g
Buttermilk
1 L
Frying oil
Directions
Cook
Make breading
Bread em'
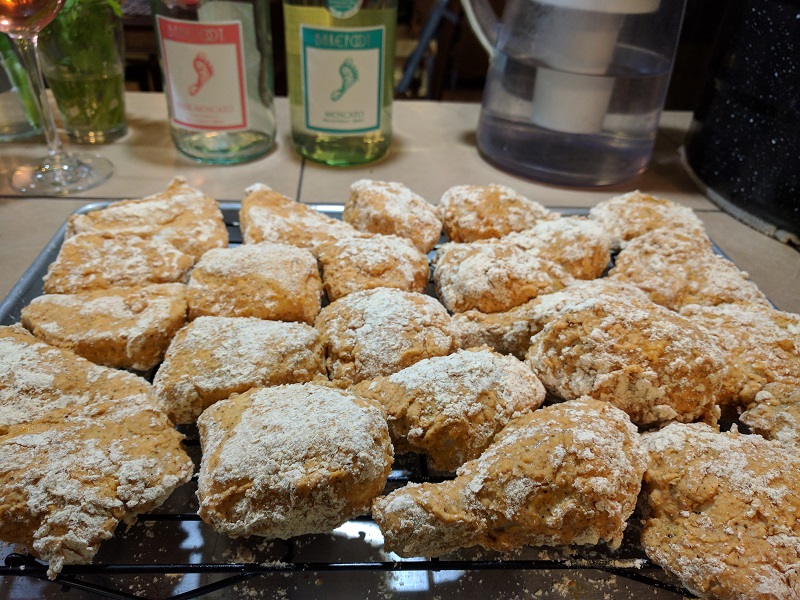
Breaded chicken after refrigeration
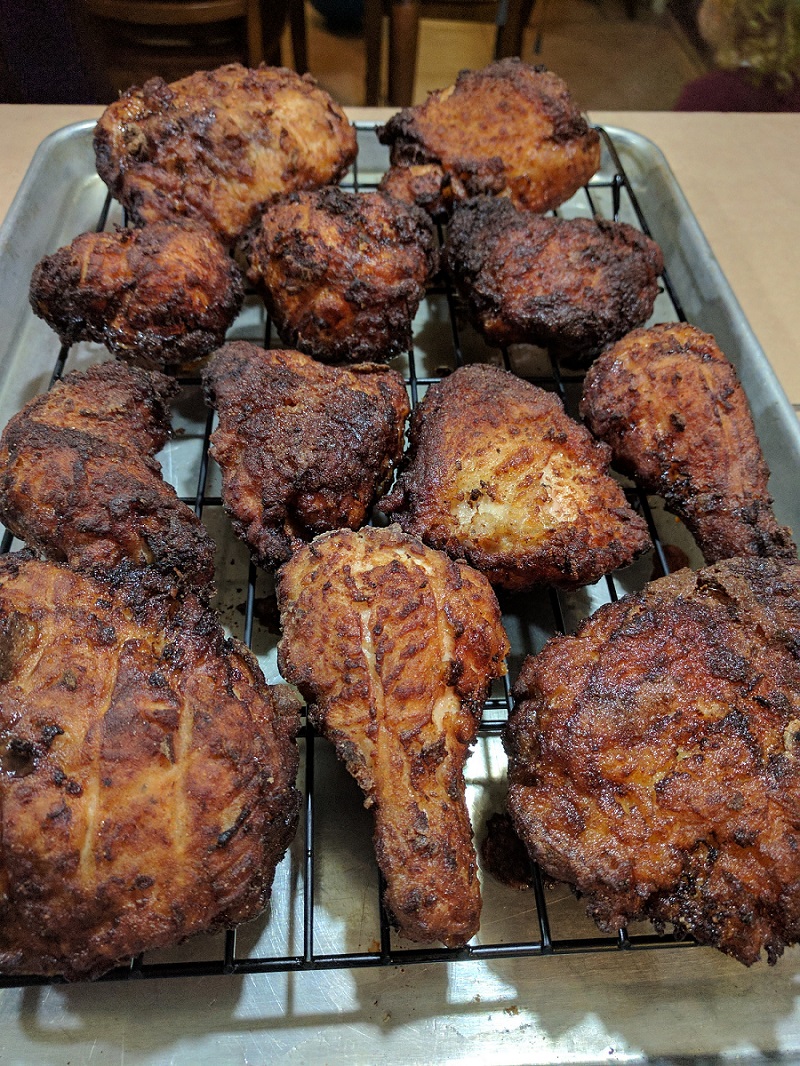
Finished chicken